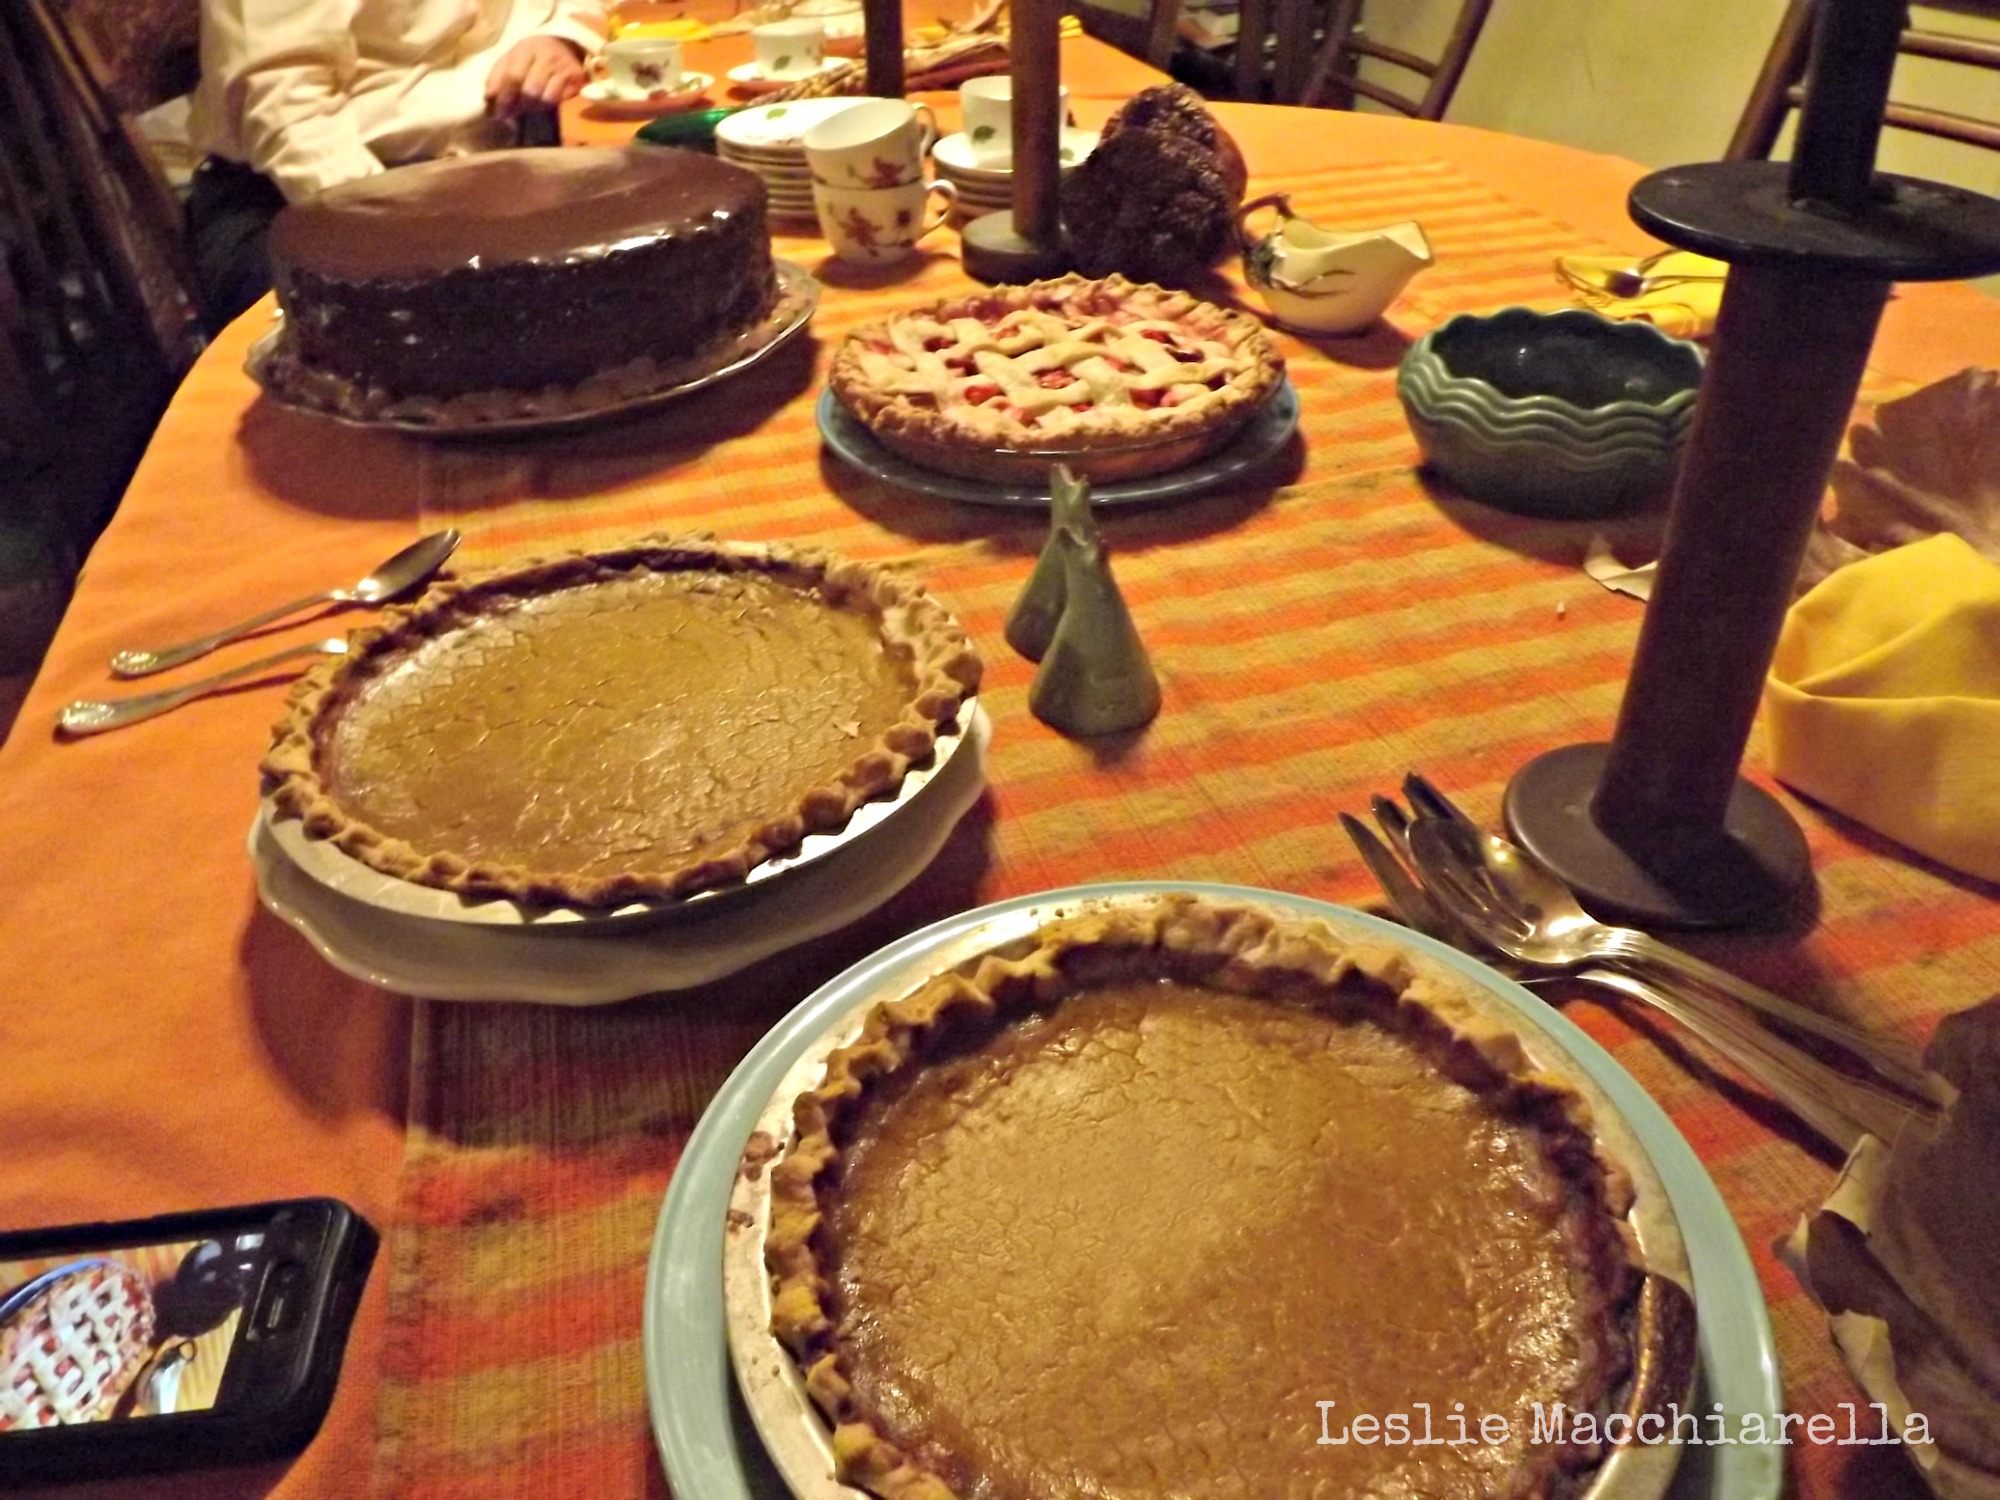
I can’t think of anything more loving than a homemade food gift from the kitchen! So I’ve scoured all the history books and checked on Grandma’s recipes and baked up some old-fashioned Black Banana Nut Bread (the black bananas make all the difference!). This is such an easy wooden spoon recipe that anyone (even the kids) can craft a vintage gift of love from your own special kitchen just in time for holiday gift giving.

Wrap it up real perrty and pack it good.

Then it’s off to the post office with your homemade gift basket. OR if you’re like me, with kids away at college, you know the mailing ropes…Don’t leave home! Your mail carrier can pick up your shipment free during regular mail delivery if you’re using an expedited service like Priority Mail®, Express Mail®, Global Express Guaranteed®, or Merchandise Return services. whoo hoo!

Yesterday’s Banana Bread versus Today’s Tea Cake Style Bread: Today’s version of banana bread (at least the last 90 years of it) is more of a sweet tea cake than the banana bread of yesteryear (which resembled yeast bread made with dried plaintain flour (though I see banana flour back in the news as a gluten-free flour of the future). Go bananas! 🙂

Vintage Recipe Mixing: This recipe is based loosely on the “Banana Nut Bread” recipe found in the ever cool metal-cased 1933 Pillsbury “Balanced Recipes” cookbook. We left out the wheat bran and sour cream, switched up butter for shortening, etc.– and we added tidbits from other vintage recipes –with some Grandma Tips thrown in (like mixing the eggs with the mashed bananas before adding them to the dry ingredients). ha! And the black bananas are a must! ‘Cause that’s the country way. Because we’re using really ripe black bananas (there’s less acid in really ripe bananas), both baking powder and baking soda are needed to add extra leavening power. Aye yie yie! This banana bread thing is more like an art-science-intuition thing. 🙂

So let’s have a go at this wooden spoon recipe. You KNOW there’s no electric beaters required — so please check your electric mixers at the door. 🙂
Vintage Black Banana Nut Bread Recipe
Tools Needed:
Cooking spray (or butter) and parchment (unless you’re using the
Wood Bakers already lined with parchment)
Bread/Loaf pan(s) 1 large (9″x5″x2-1/2″ or 8″x4″x2″) or 2 smaller Wood Bakers (7″x4″x2-1/2″)
Cookie Sheet Pan (if you’re using Wood Bakers)
Large Bowl (for batter)
Dinner-sized plate (for mashing bananas)
Mashing Tool (fork, potato masher, ricer, etc)
Whisk (or fork for mixing drying ingredients)
Small strainer (for de-seeding lemon juice, optional)
Small bowl or cup (for fork beating eggs)
Medium (soup-sized) bowl (for secret tip of mixing banana puree with eggs)
Wooden Spoon (gotta make it wood, right?) 🙂
Measuring cups and spoons
Pastry brush (or any brush for brushing top of bread with butter, optional – fingers are okay too!)
Temperature Tool (optional but handy)
Ingredients for Banana Nut Bread:
1-1/2 cups mashed bananas from dark-skinned ripe bananas (about 4 to 5 large)
1/3 cup unsalted butter, room temperature
2 cups all-purpose flour
1 cup sugar
1 teaspoon baking soda
1 teaspoon salt
1 teaspoon baking powder
1 teaspoon dried cultured buttermilk (optional)
1/2 cup fine-chopped walnuts (substitute pecans or favorite nuts)
2 eggs, fork beaten
1 Tablespoon fresh lemon juice (from 1 large lemon)
1/3 cup milk (2% is fine)
1 to 2 Tablespoons room temperature butter for basting the top of the bread
Ten Steps to Making a Fabulous Vintage Black Banana Bread:
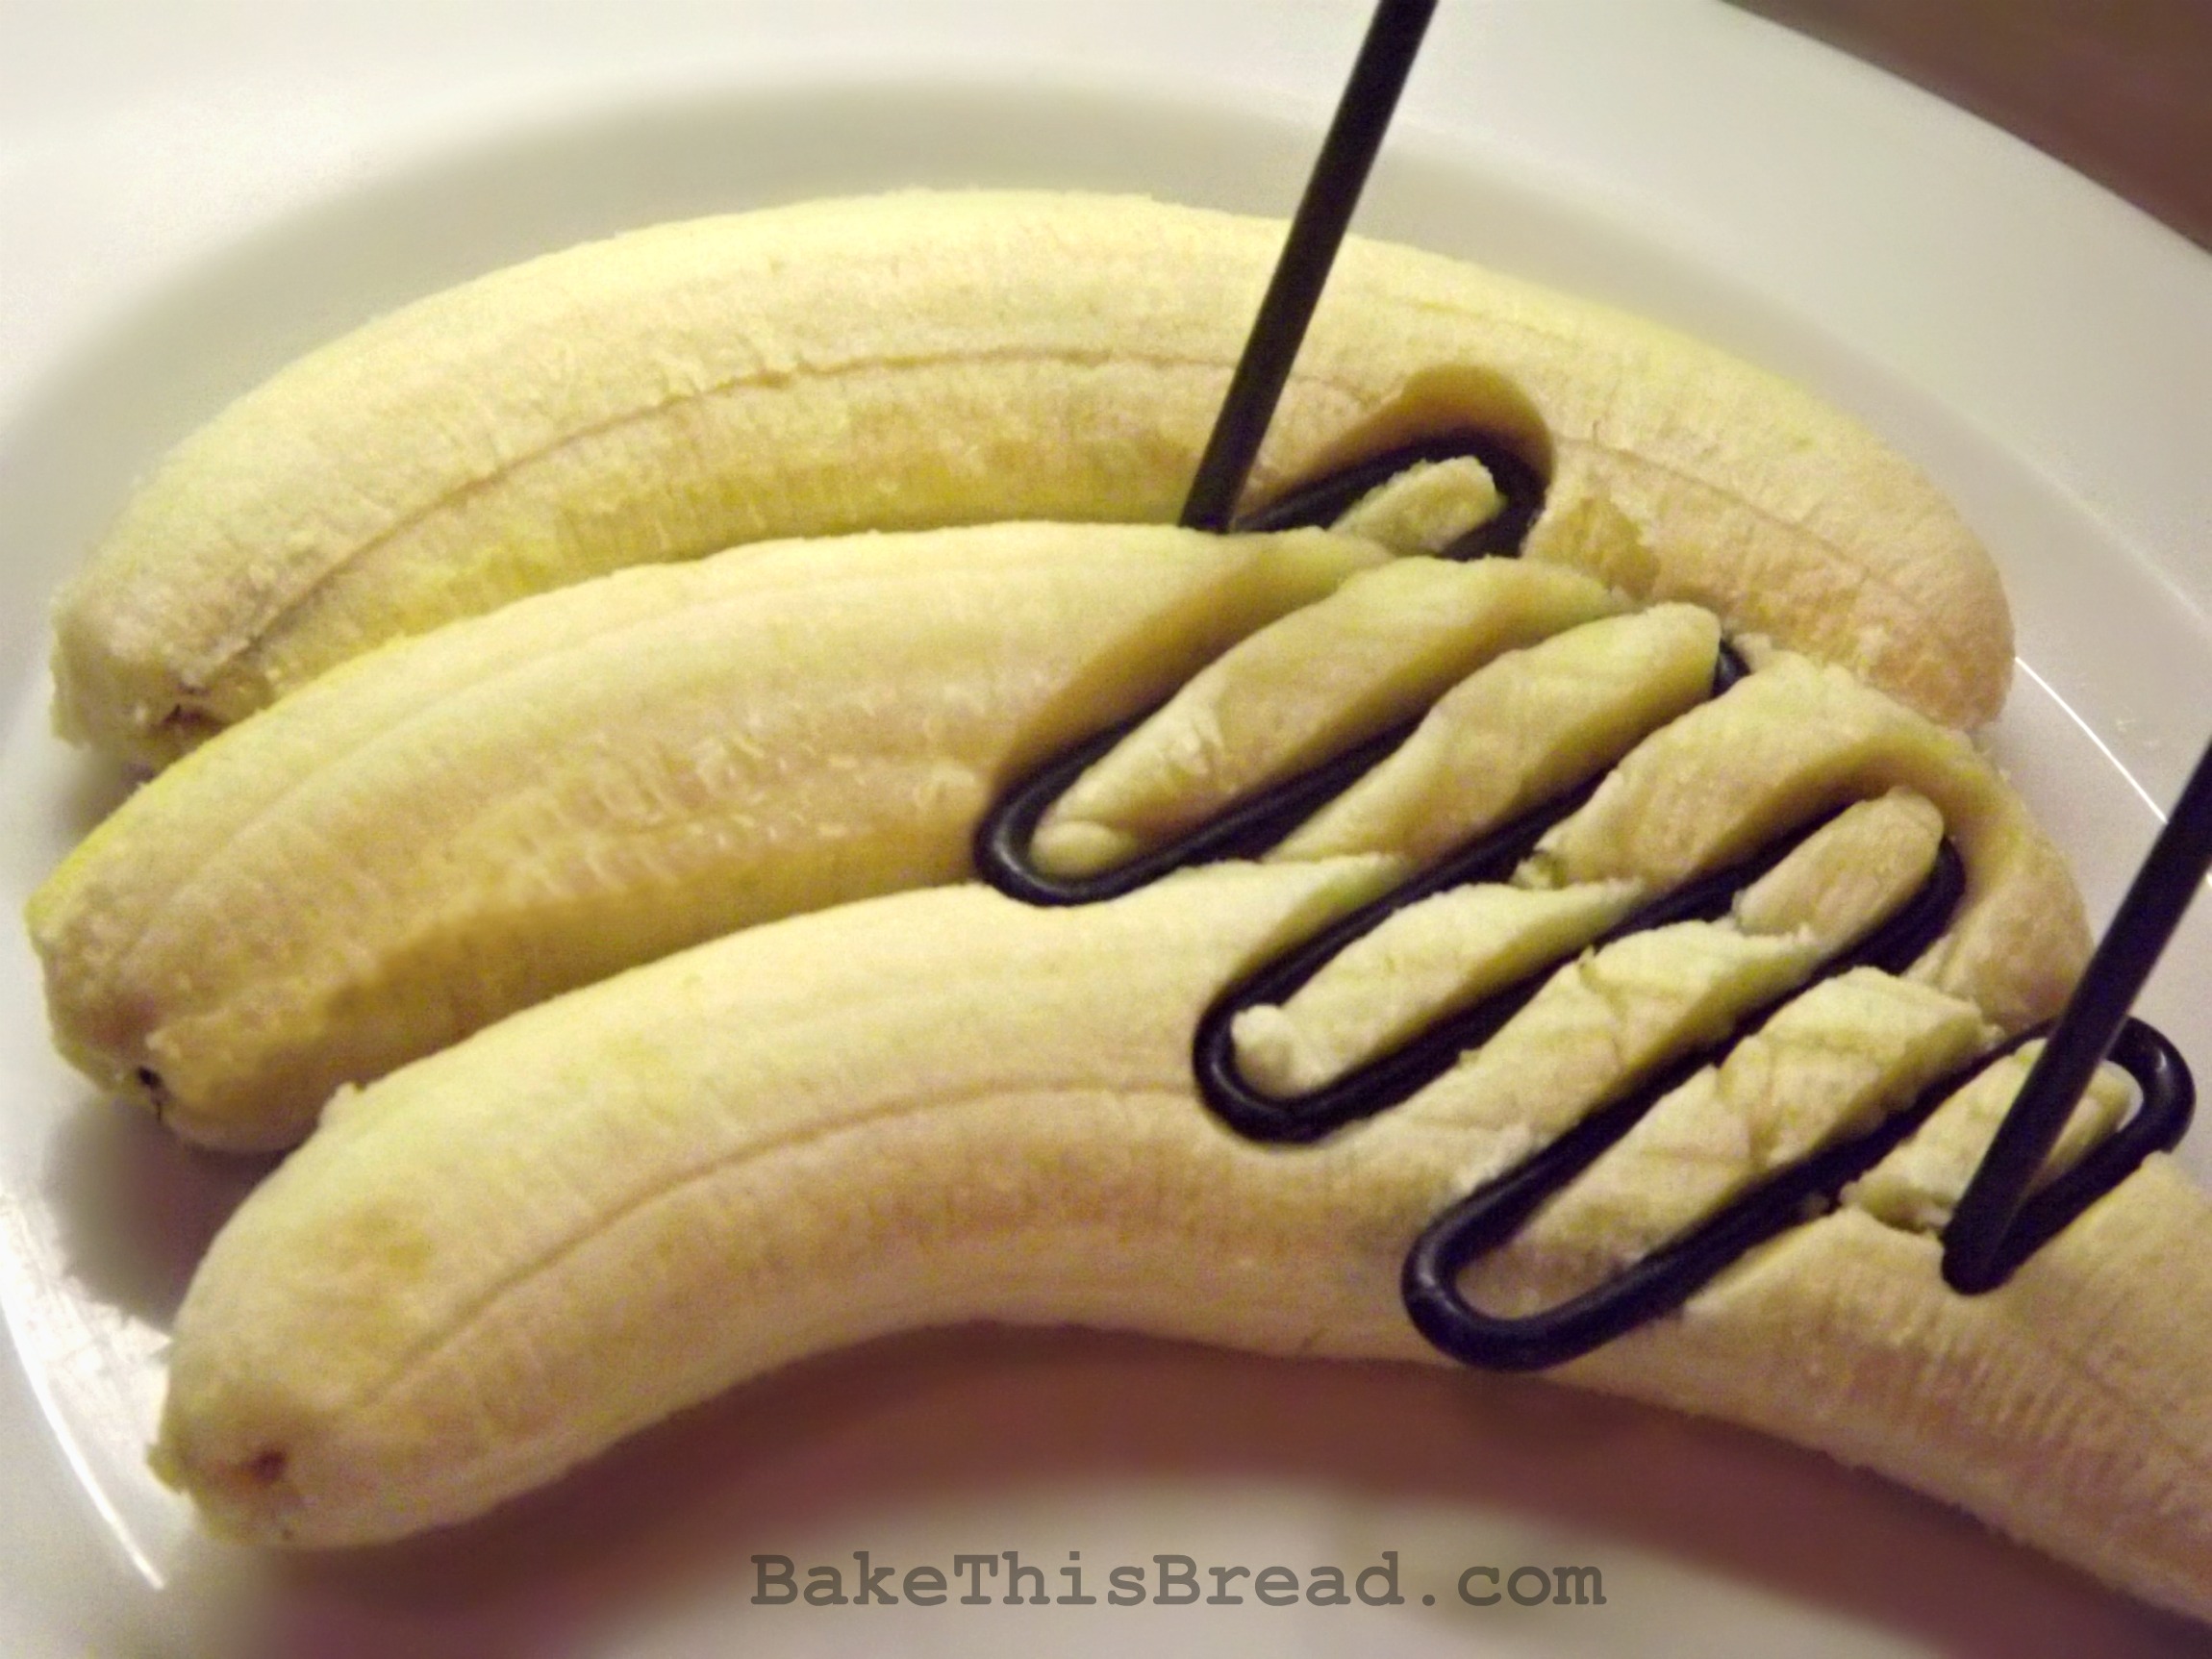
1. Defrost the Bananas (if yours are stored frozen):
Haul out your best 4 or 5 large black bananas from the deep freeze. if you’re like me, you’ll have a regular stash hidden behind the frozen peas. 🙂 We defrosted our frozen bananas on the counter in about 30 minutes, easily peeled them and they were nice and dark and sweet.
Tip: Black ripe bananas make the best banana bread because they make the cake sweet and golden-dark brown-crusted with those nice dark speckles. (Remember, for our Banana Layer Cake recipe, we used only lightly ripened yellow bananas.)

2. Prep the Oven and Baking Pans:
Set the oven rack to center position and pre-heat the oven to 350 degrees. Prepare 1 large or 2 small loaf pans by spraying with cooking spray or rubbing them with a little butter. We used King Arthur Flour’s (our sponsor) darling Bake and Give Wood Bakers that don’t require prepping ’cause they are lined with parchment papers.
3. Bring Eggs to Room Temperature:
Place into a small bowl (or cup) of warm water for about 10 minutes to bring to room temperature:
2 large eggs

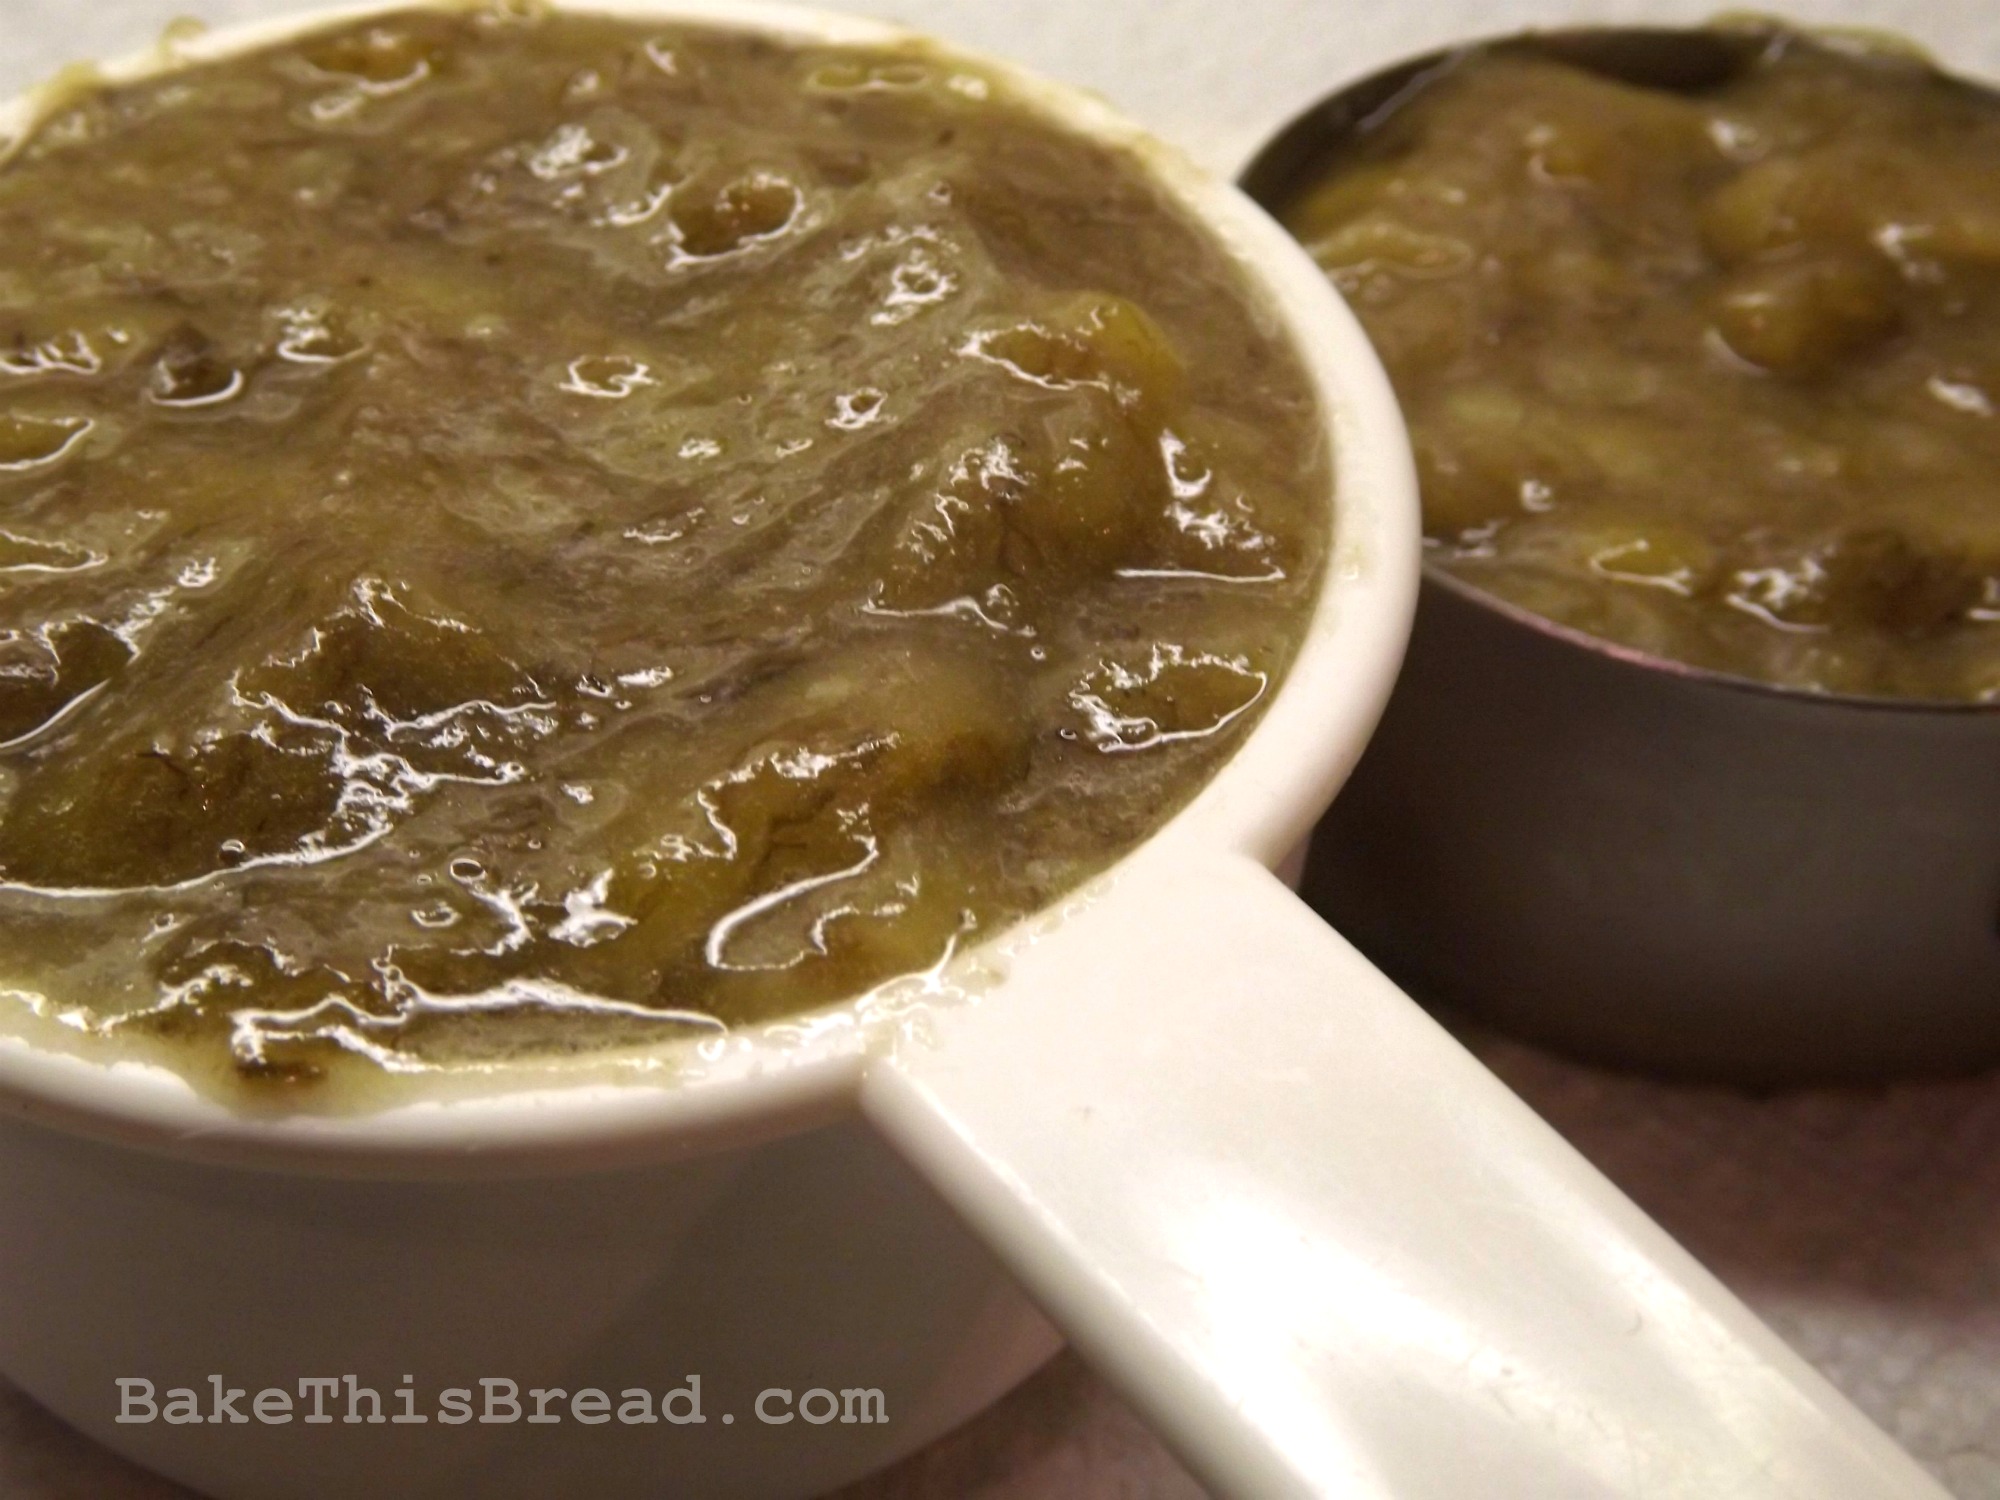
4. Prep the Nanners:
Using a flat plate, use your favorite mashing tool (mine is a potato masher) to puree:
4 to 5 large very ripe bananas for 1-1/2 cups banana puree
Tip: Give the bananas a thorough mashing as all banana bits will show in the finished sweet bread but don’t go food processor on me here…leave a few bits showing for an extra taste punch. 🙂
Measure out the banana puree and notice how nice and rich the banana puree has become when using extra dark bananas.
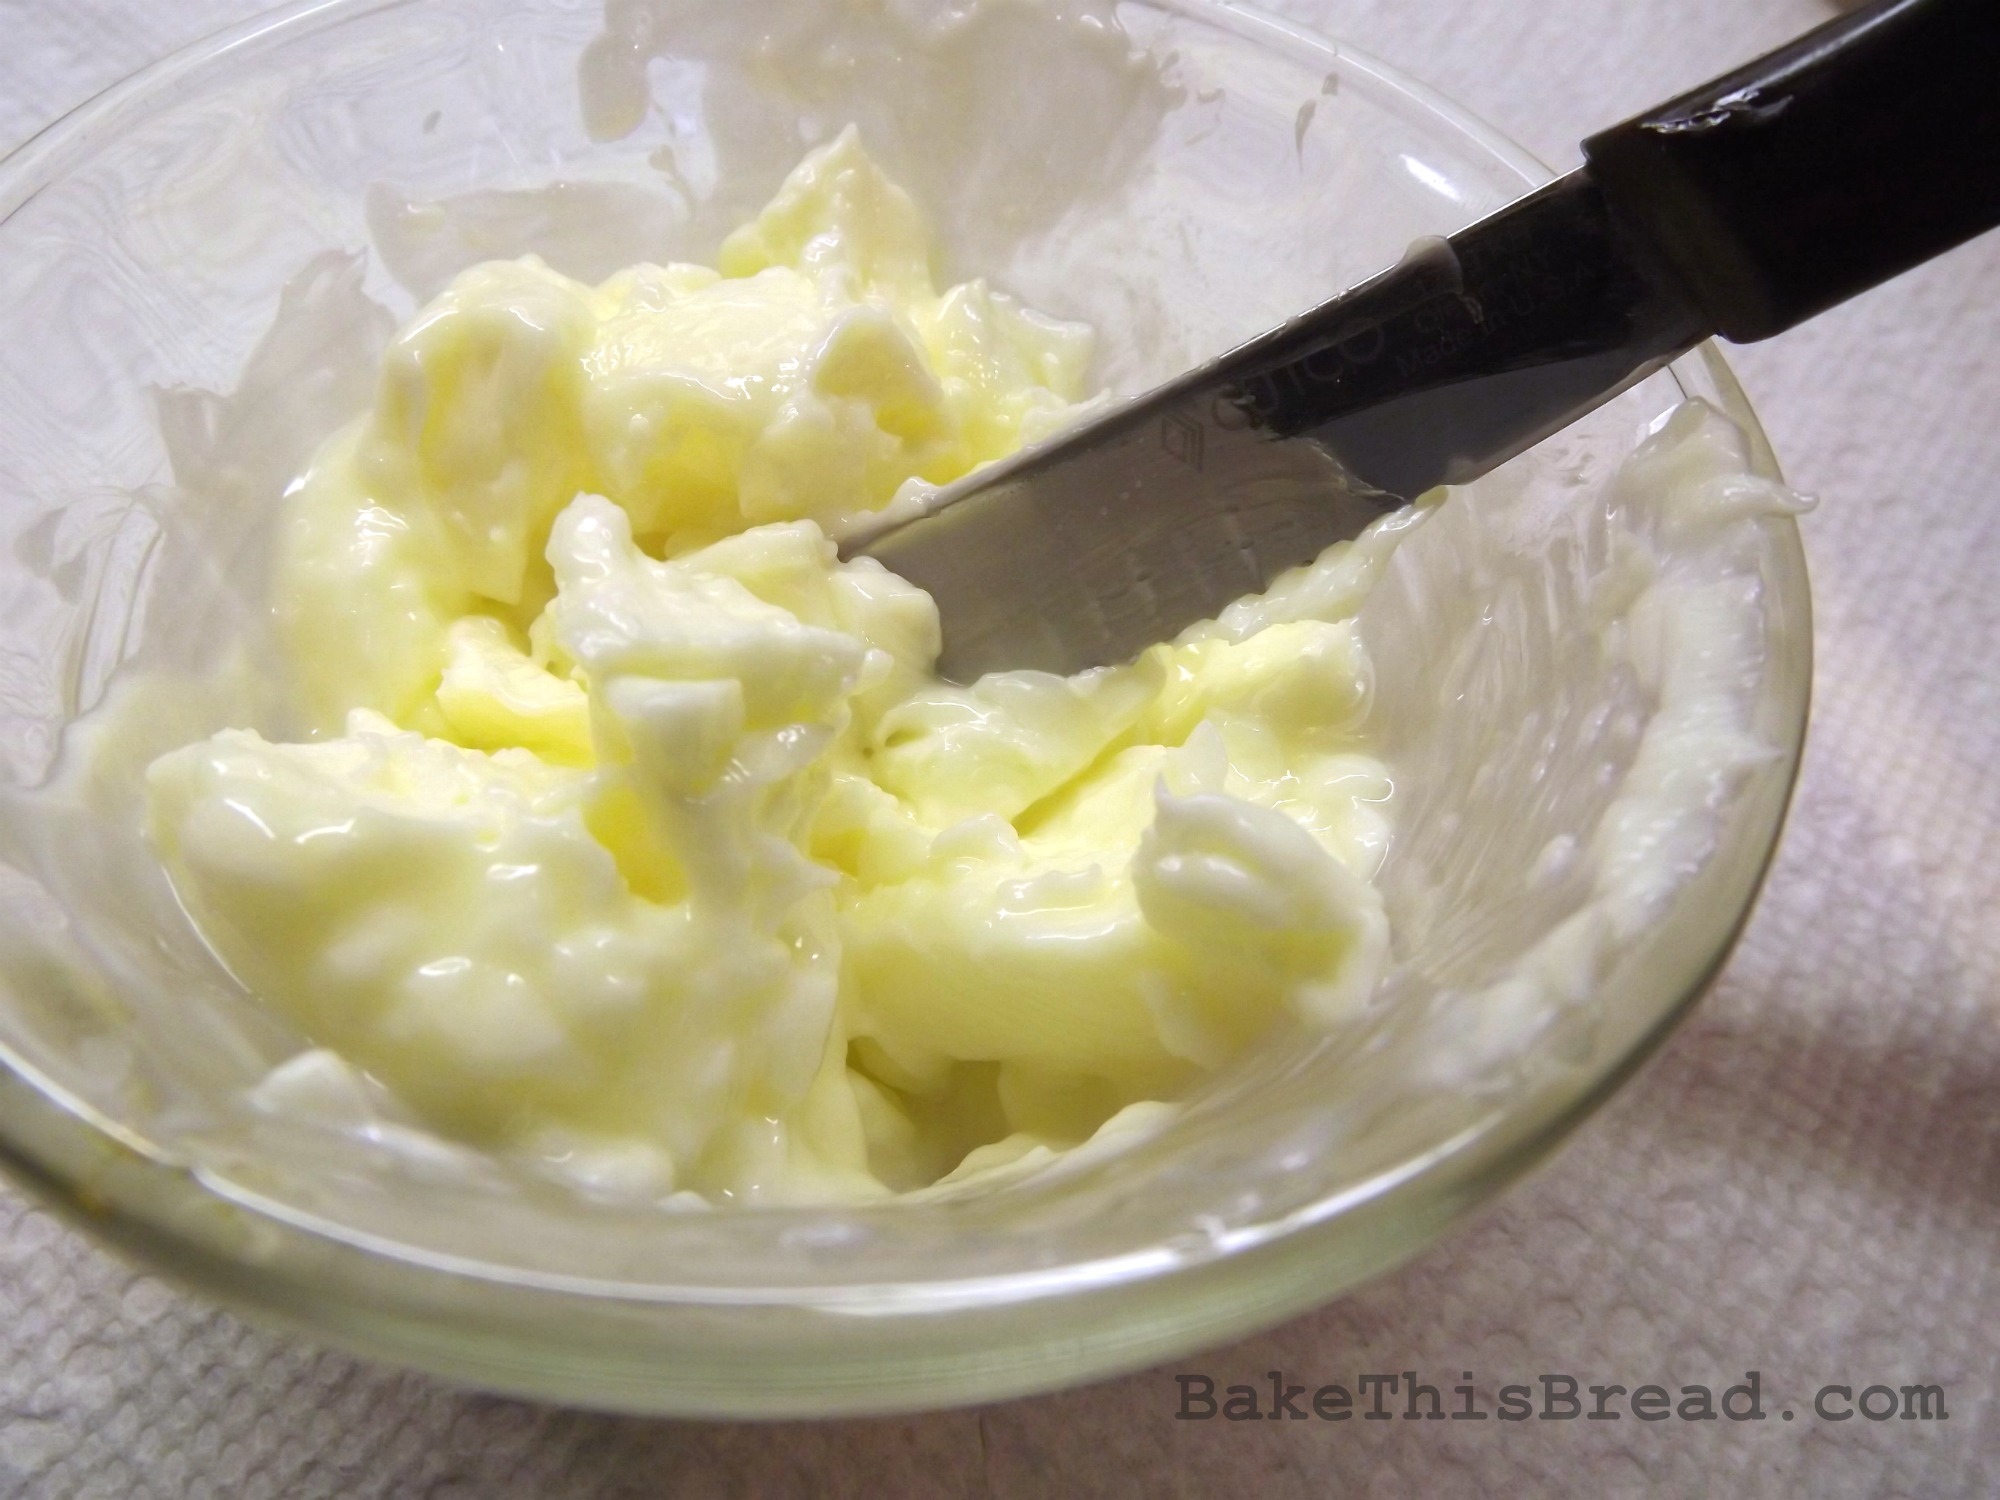
5. Prep the Butter:
Microwave for a few seconds and stir to ensure fluffy room temperature consistency: 1/3 cup unsalted butter
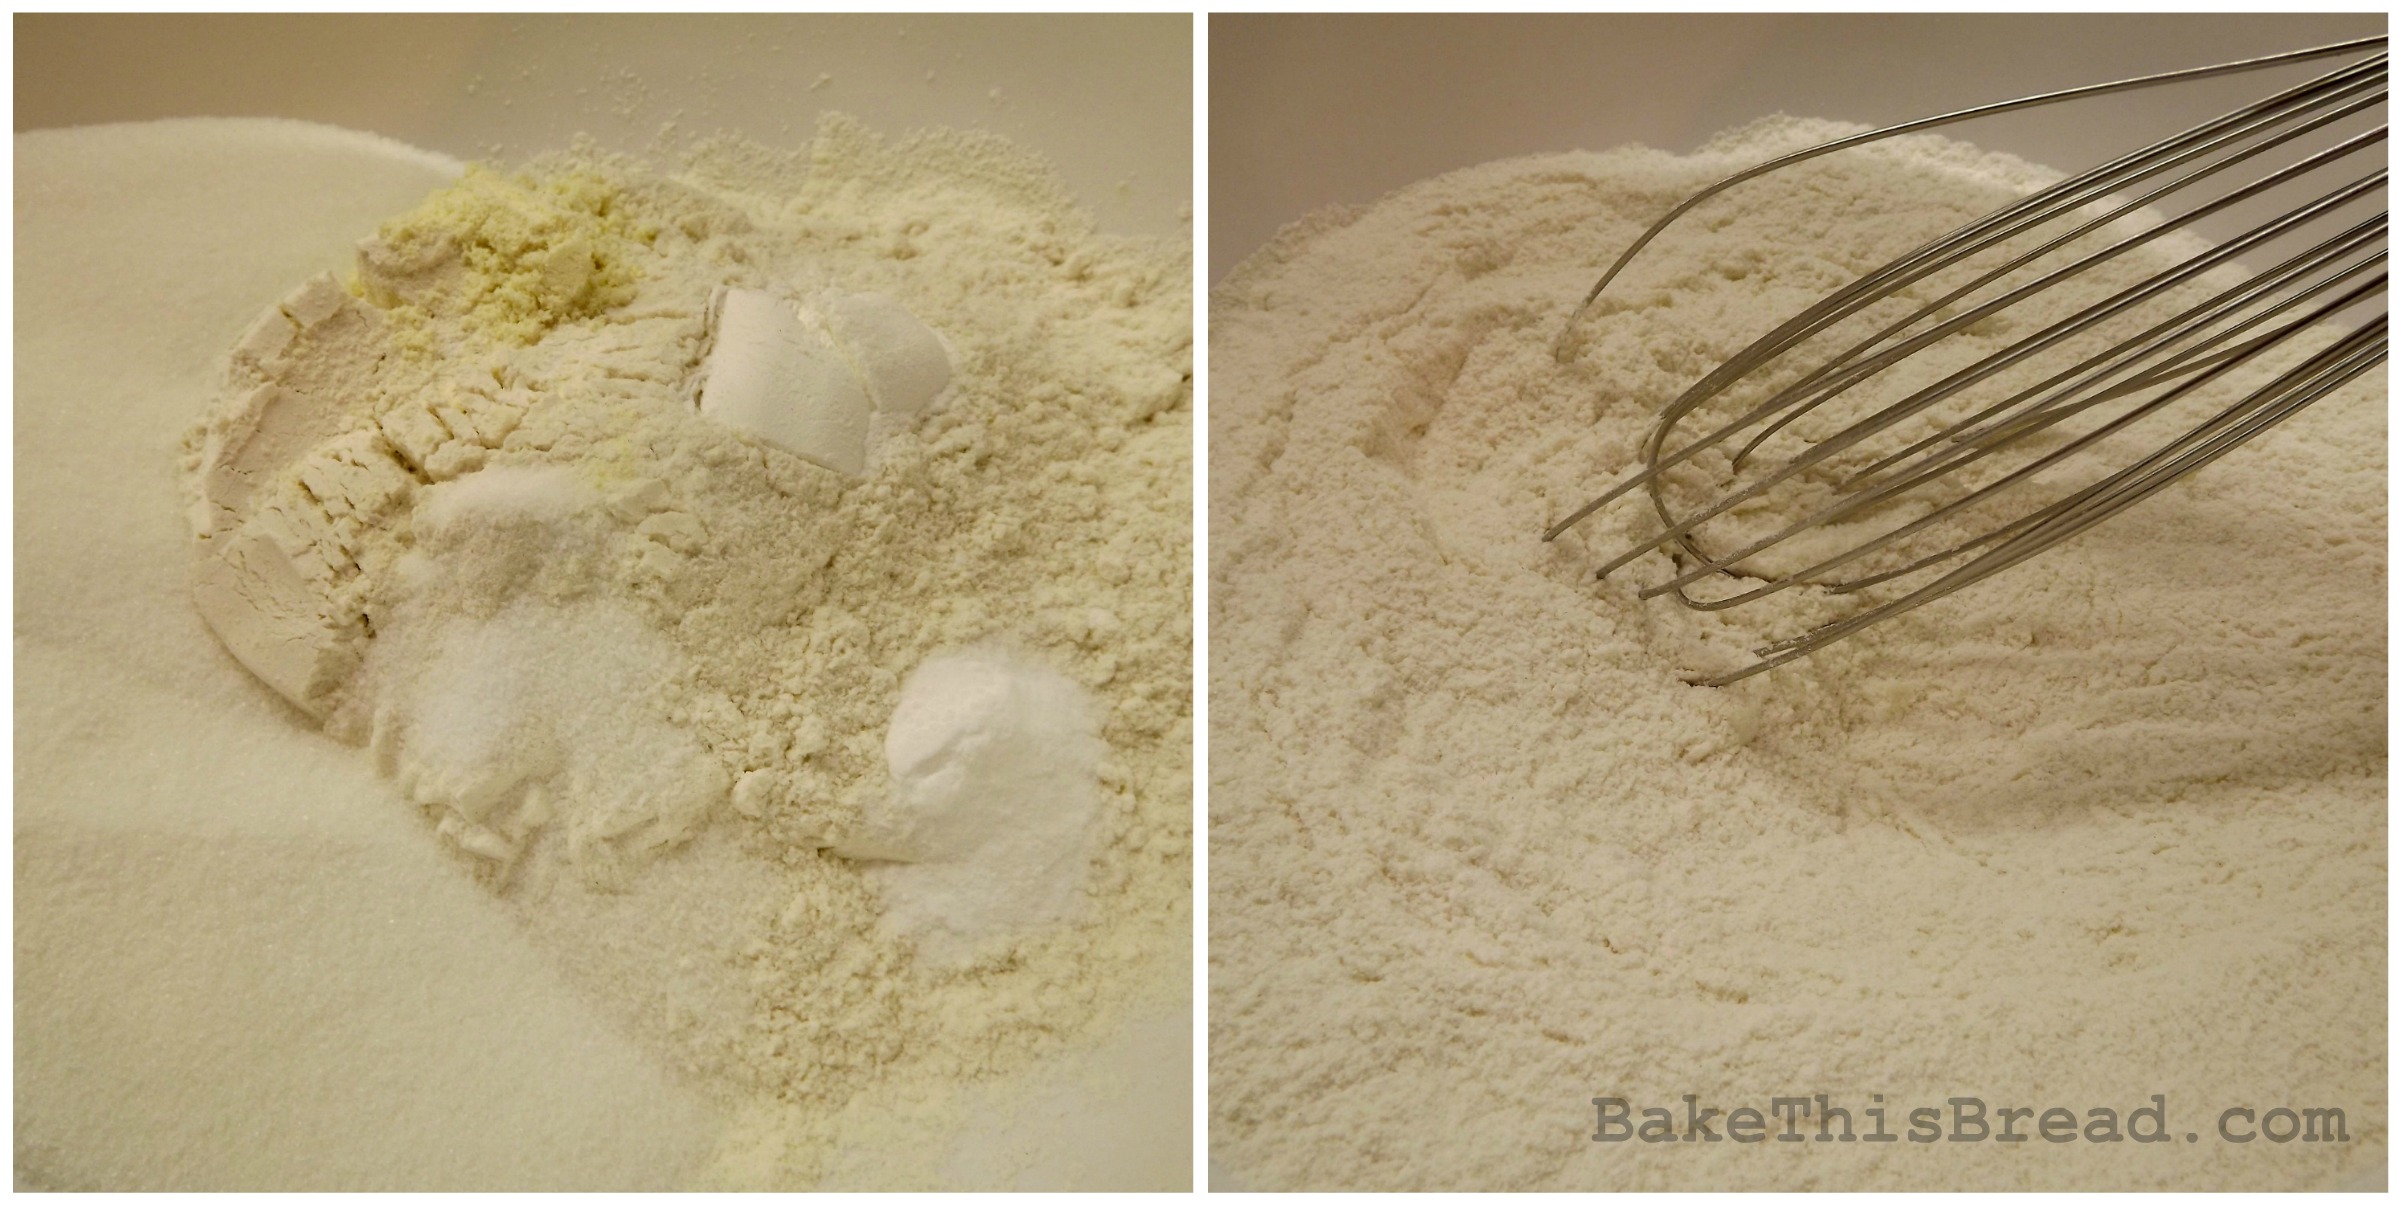
6. Prep the Dry Ingredients:
Measure out into a large bowl:
2 cups all-purpose flour
1 cup sugar
1 teaspoon baking soda
1 teaspoon salt
1 teaspoon baking powder
1 teaspoon dried cultured buttermilk (optional)
Whisk dry ingredients thoroughly (the lazy sifter’s way) 🙂
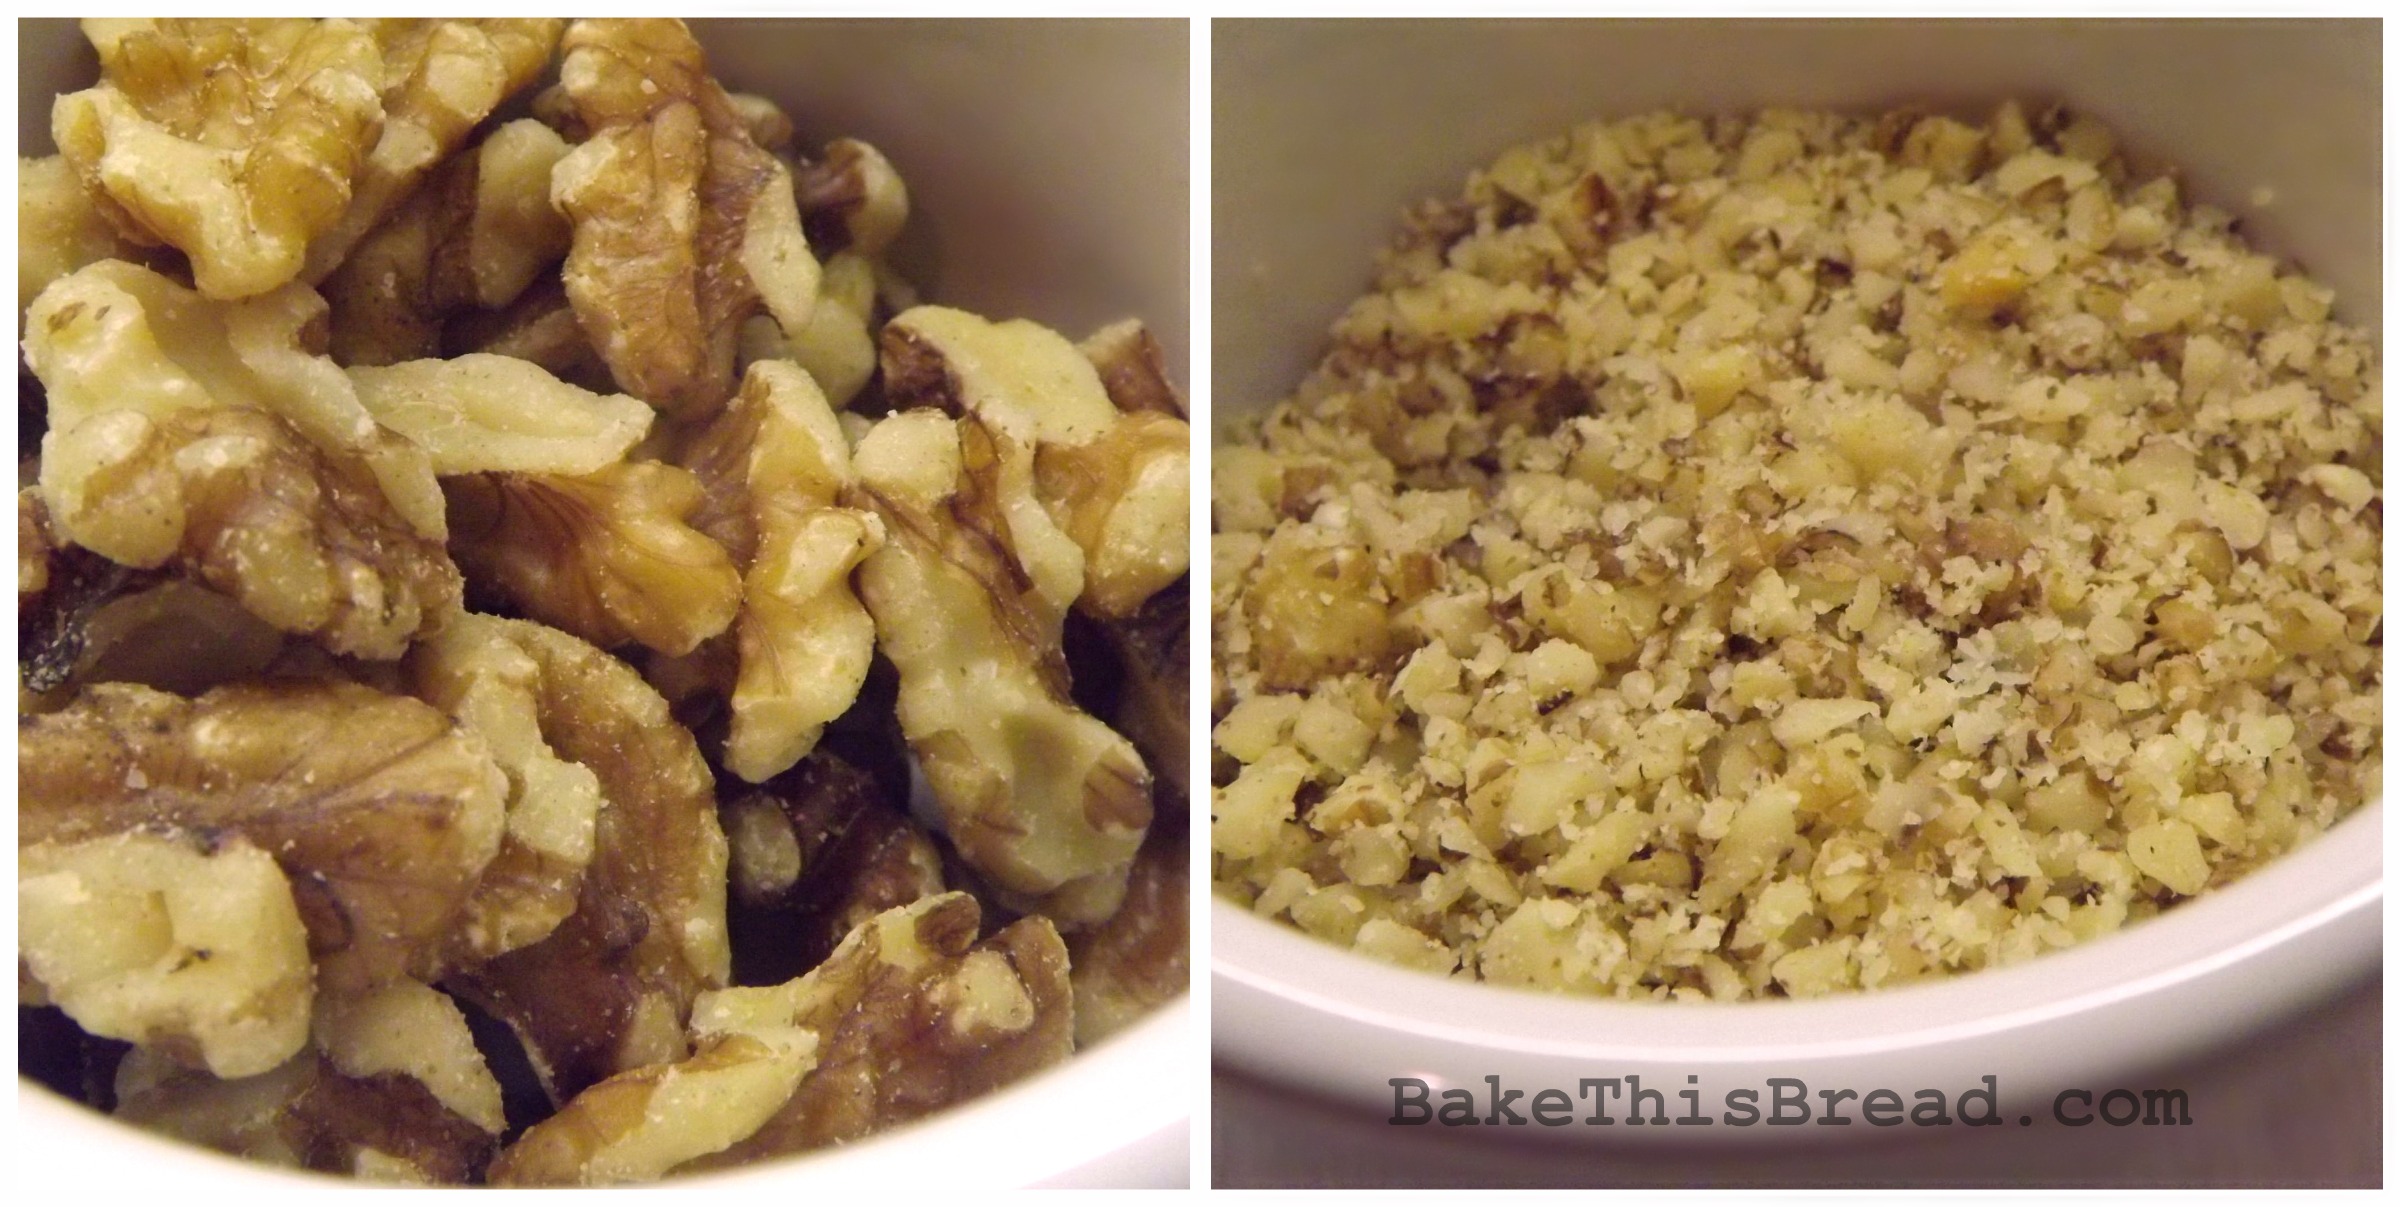
Fine chop by hand or in a mini food processor:
1/2 cup walnuts
Whisk the fine-chopped nuts into the dry ingredients.
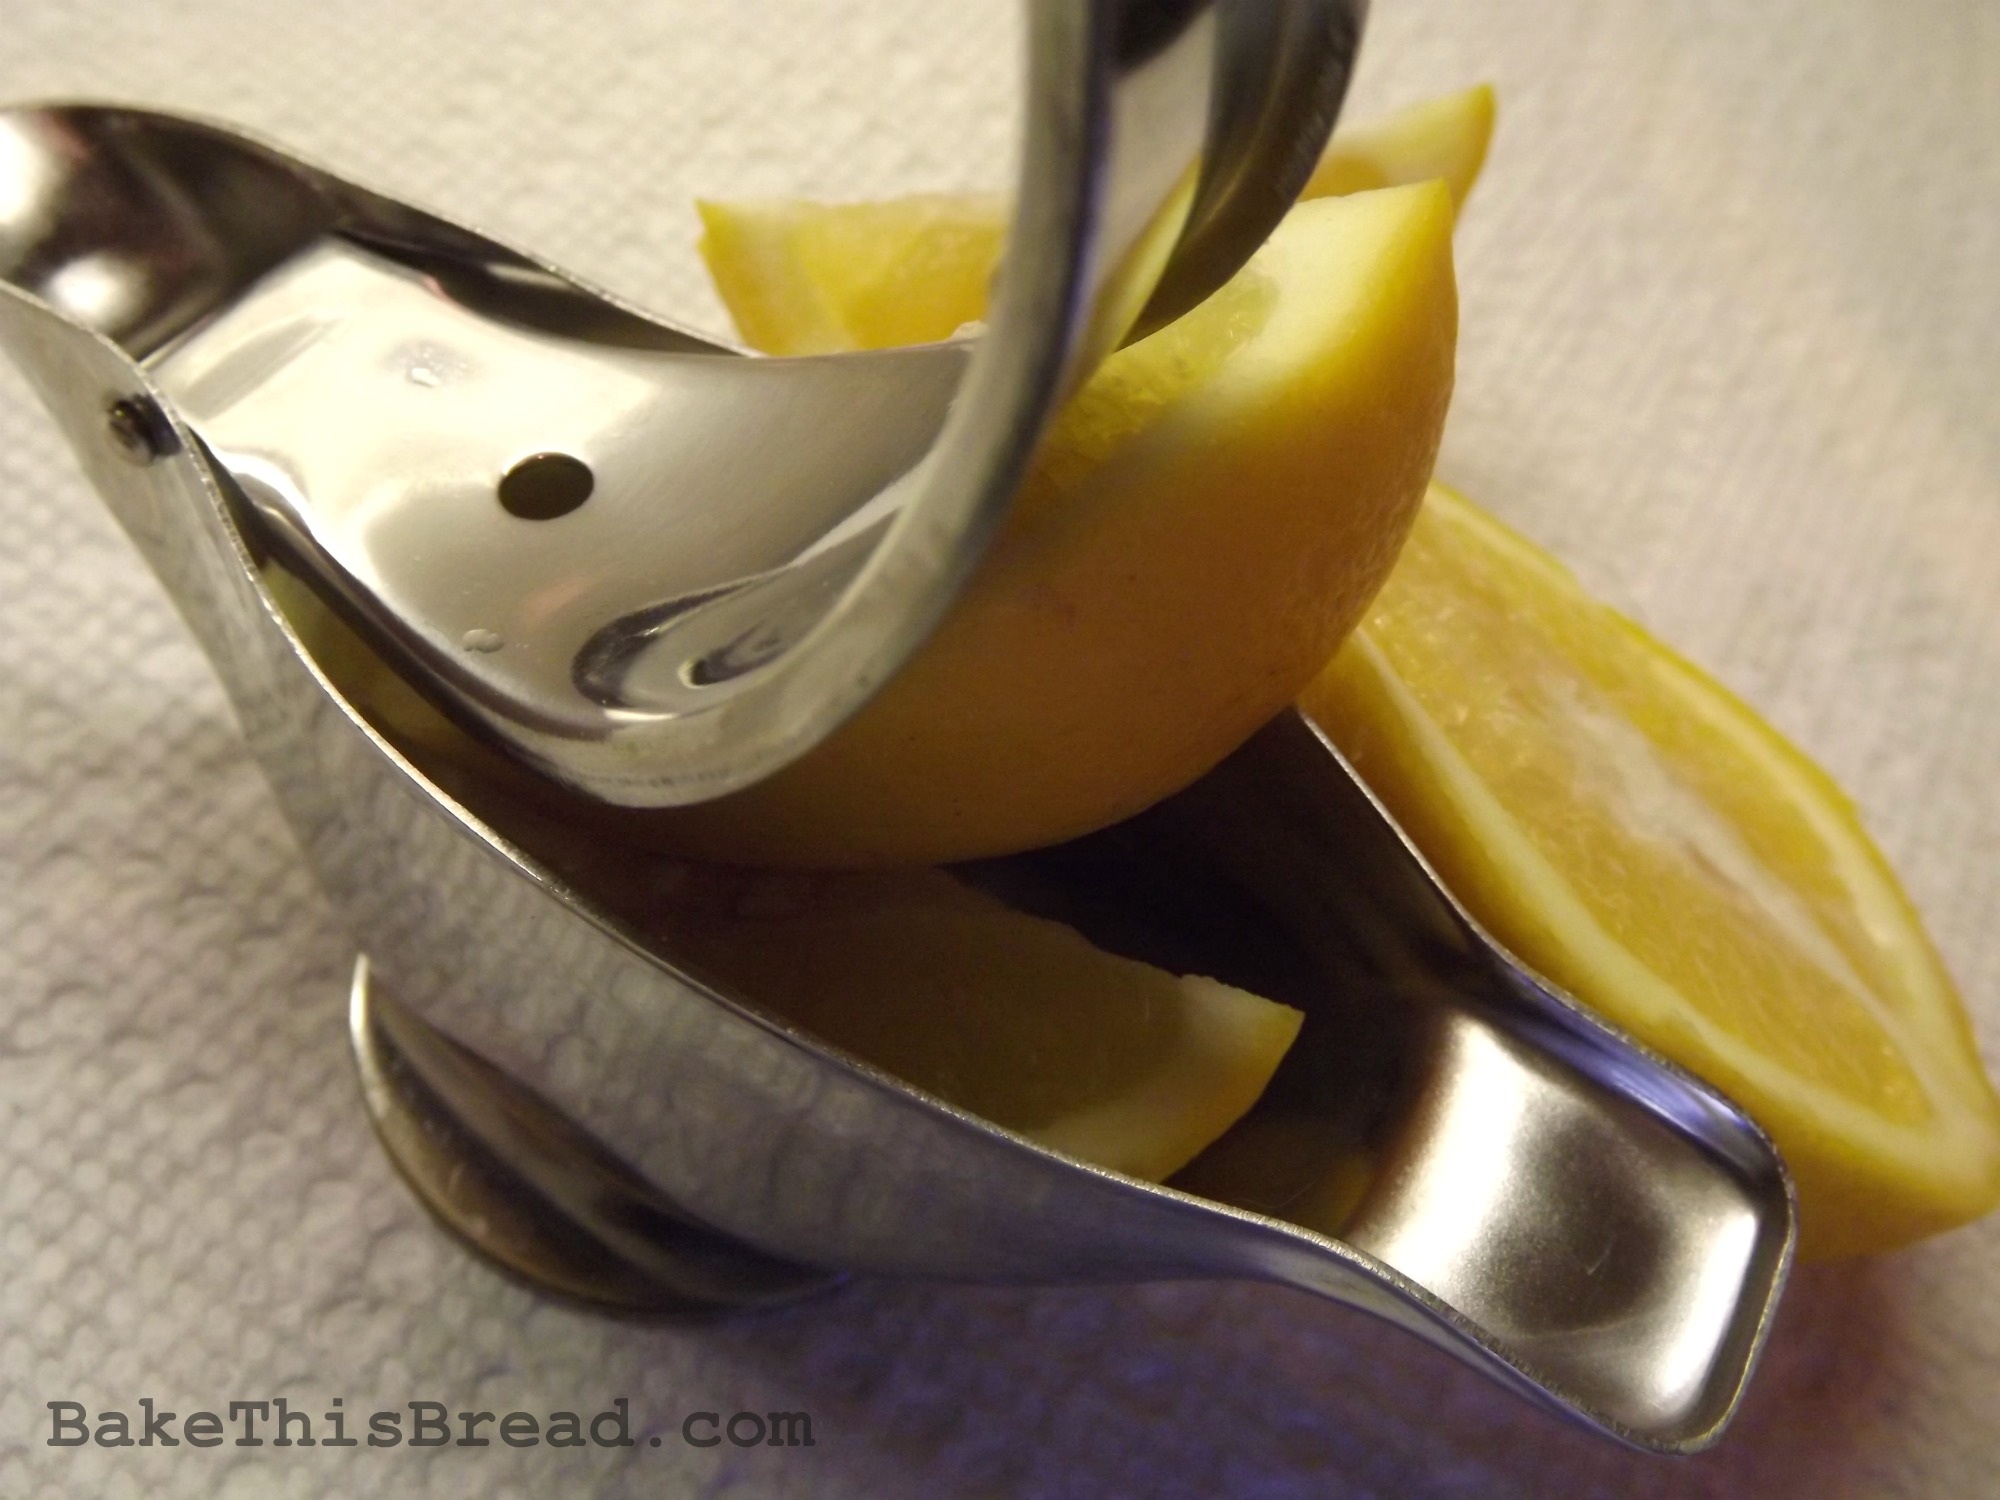
7. Squeeze Some Lemon Juice:
De-seed and squeeze to produce (and set aside for a moment):
1 Tablespoon fresh lemon juice (using 1 large lemon)
Tip: My favorite lemon wedge squeezer is shaped like a little bird (and it also seems to catch the seeds). Mine’s inherited and way-old but they seem to have a new version here (we get a lot of requests for where to find one). 🙂
 8. Work with the Eggs and Nanners and Lemon Juice:
Crack the prepared room temperature eggs into a small bowl or cup and, using a fork, beat them until they are thoroughly mixed.
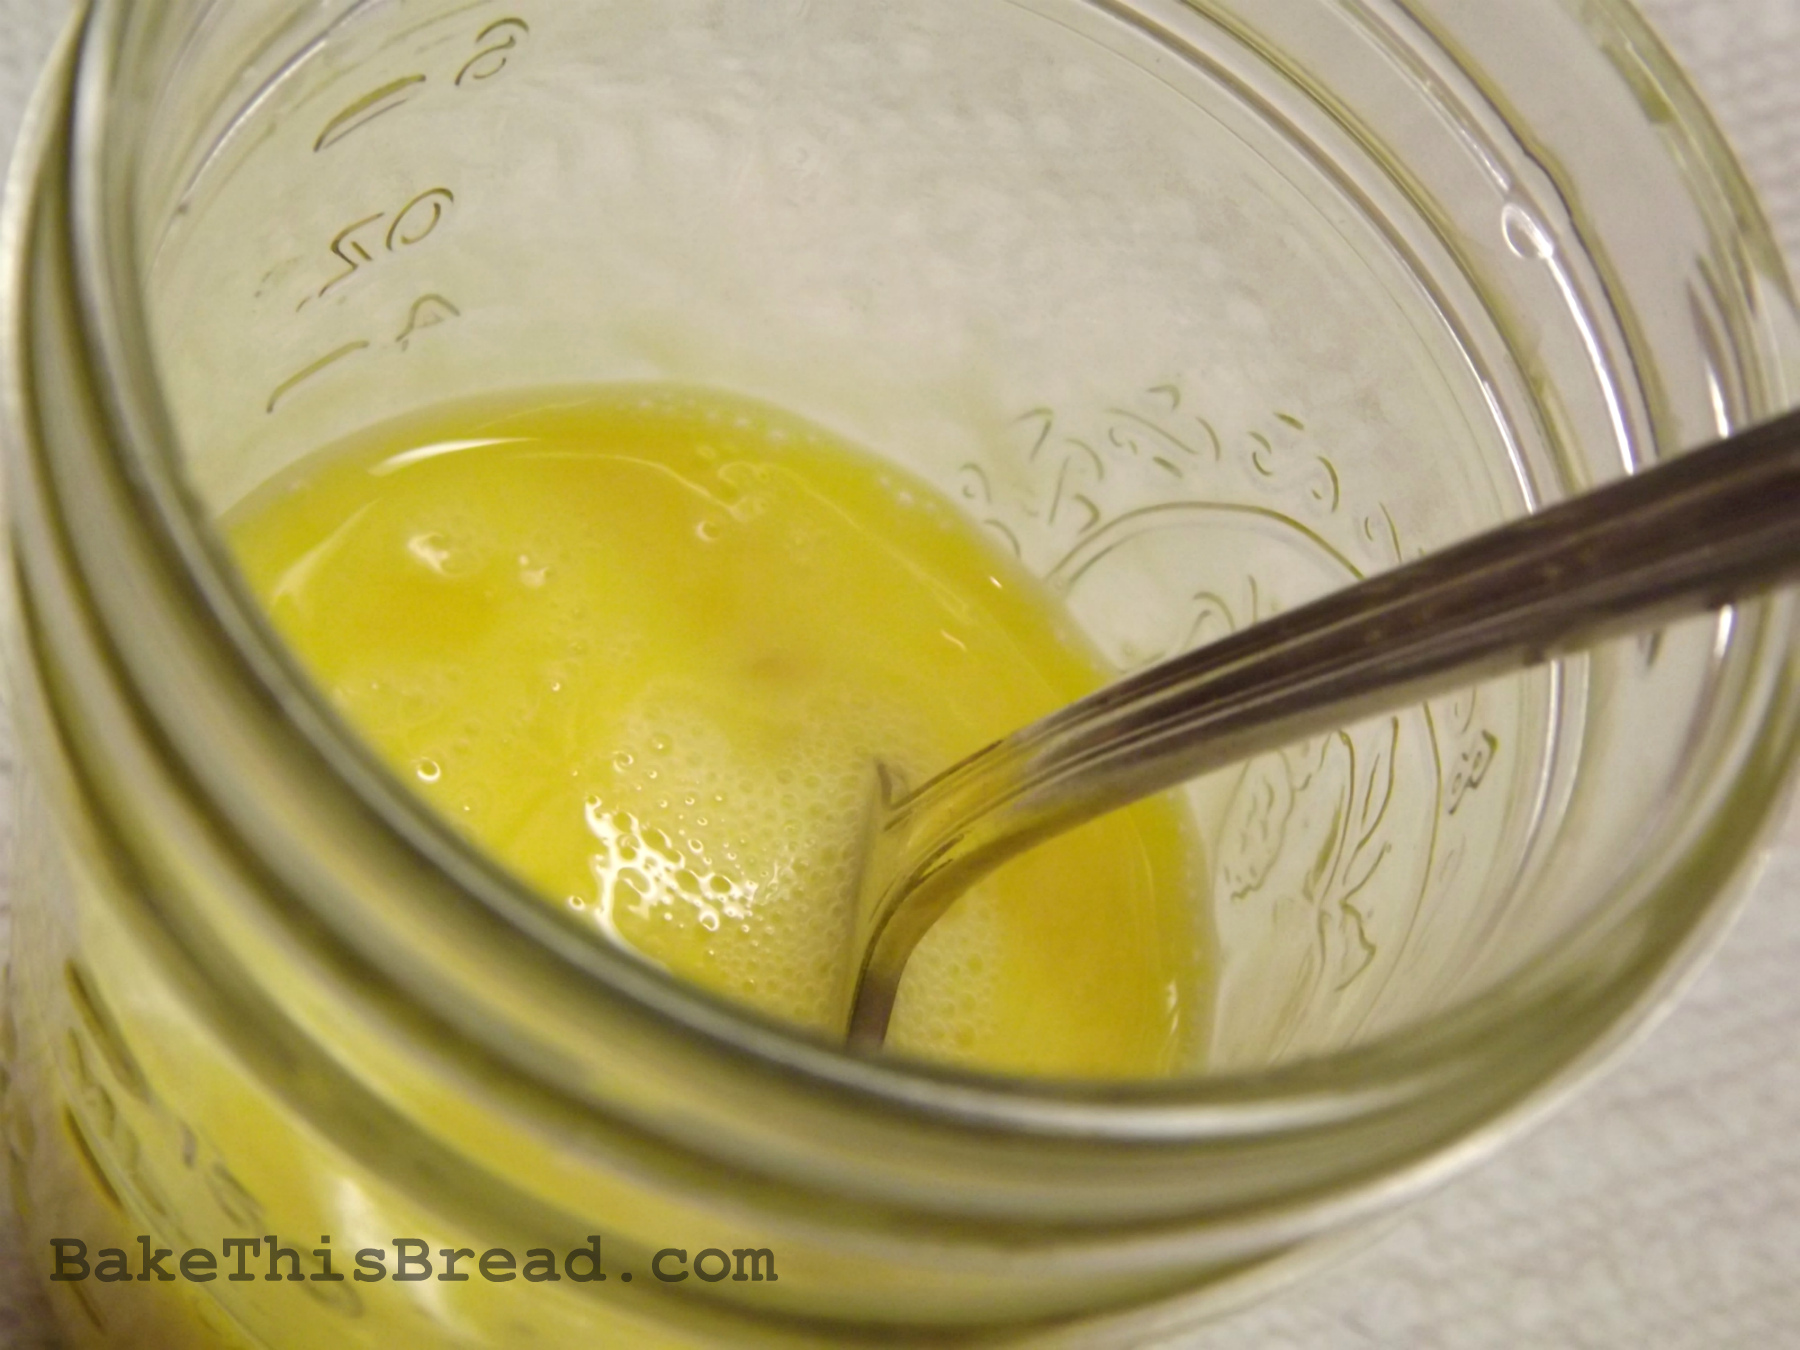
Stir the fork-beaten eggs into the banana puree and then stir in:
the prepared lemon juice
{{This is Grandma’s secret tip!}}

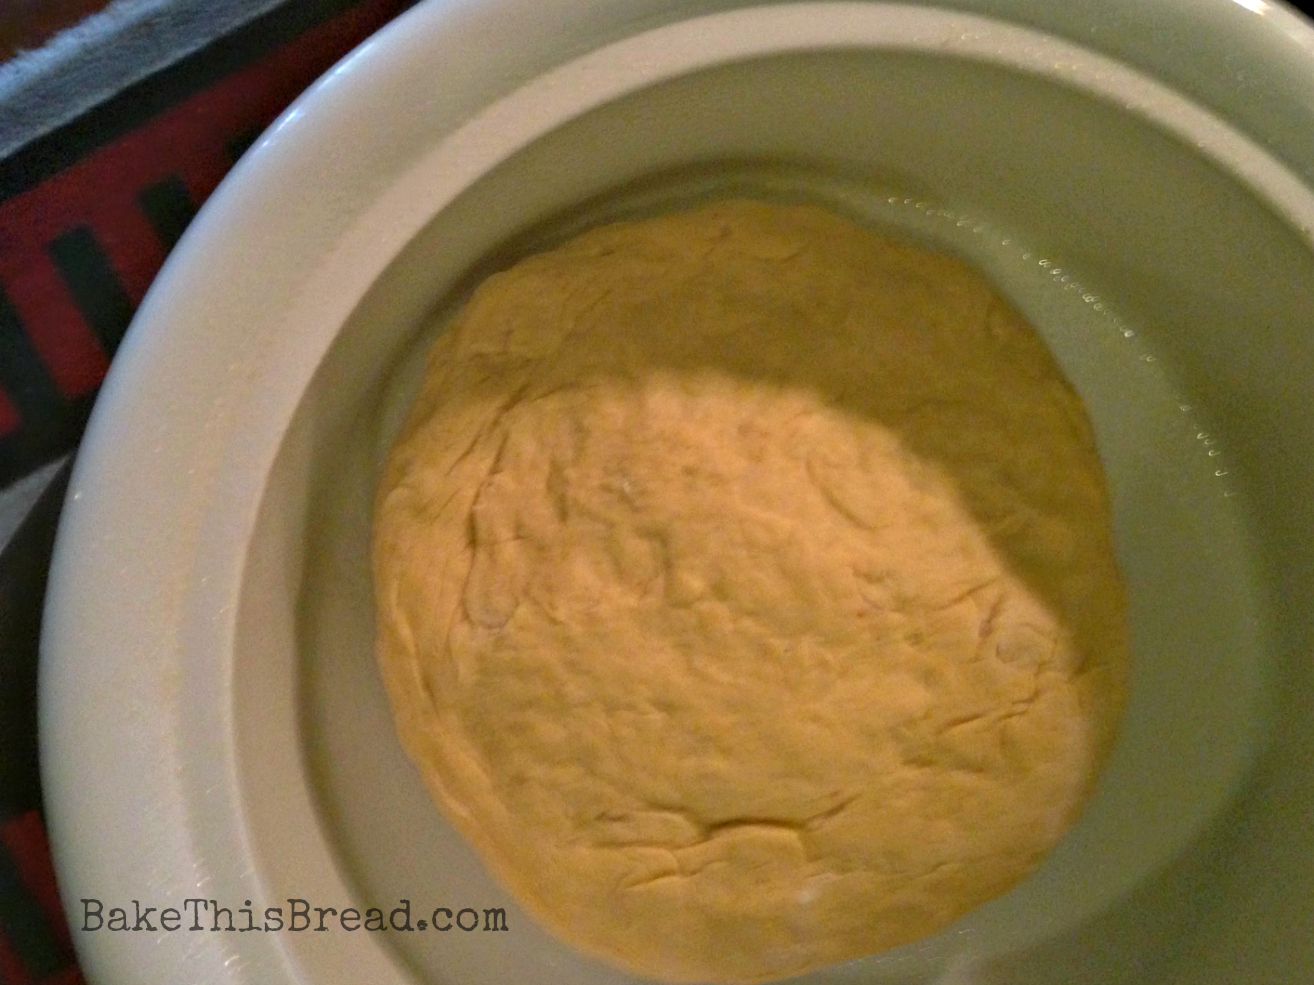
9. Stir That Puppy with a Wooden Spoon!
Stir the banana-egg-lemon mixture into the dry ingredients.
Stir in the prepared room temperature butter.
Pour in and stir until thoroughly incorporated (about 30 strokes):
1/3 cup milk (2% works well)
The final batter lightens up in color and has a lovely aroma even at this stage.

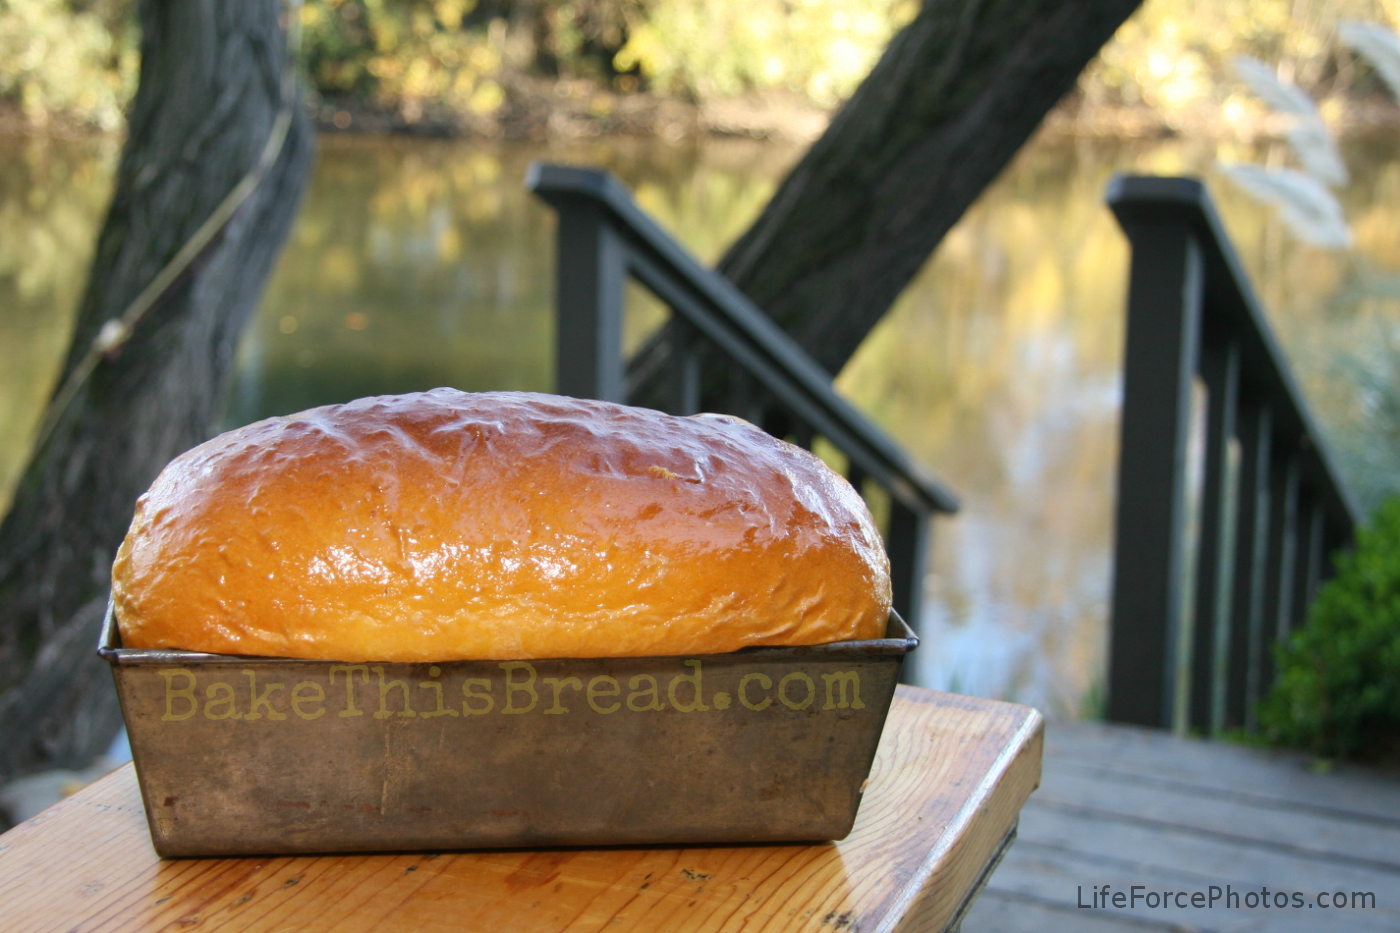
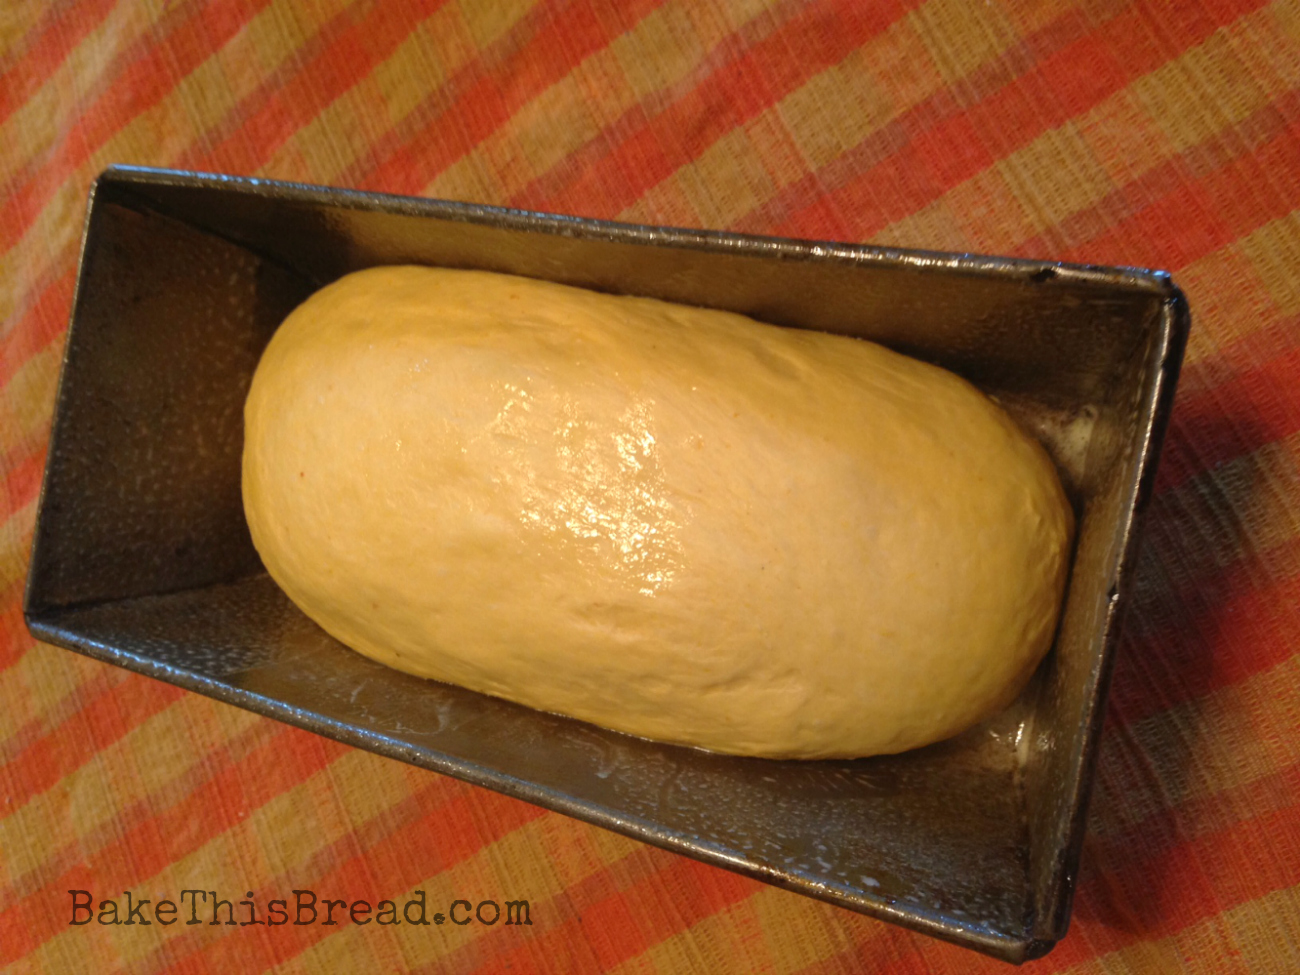
10. Fill ‘er Up and Bake this Puppy!
I like to use an old-fashioned ice cream scooper to deliver the batter to the pans. It seems to help keep the drips at bay. 🙂

I filled the Wood Baker pans about half full for tea cake style cakes.
You can pour all the batter into one pan if you are using just one large loaf pan (the batter should reach to about 2/3 full if it’s all going into one pan).

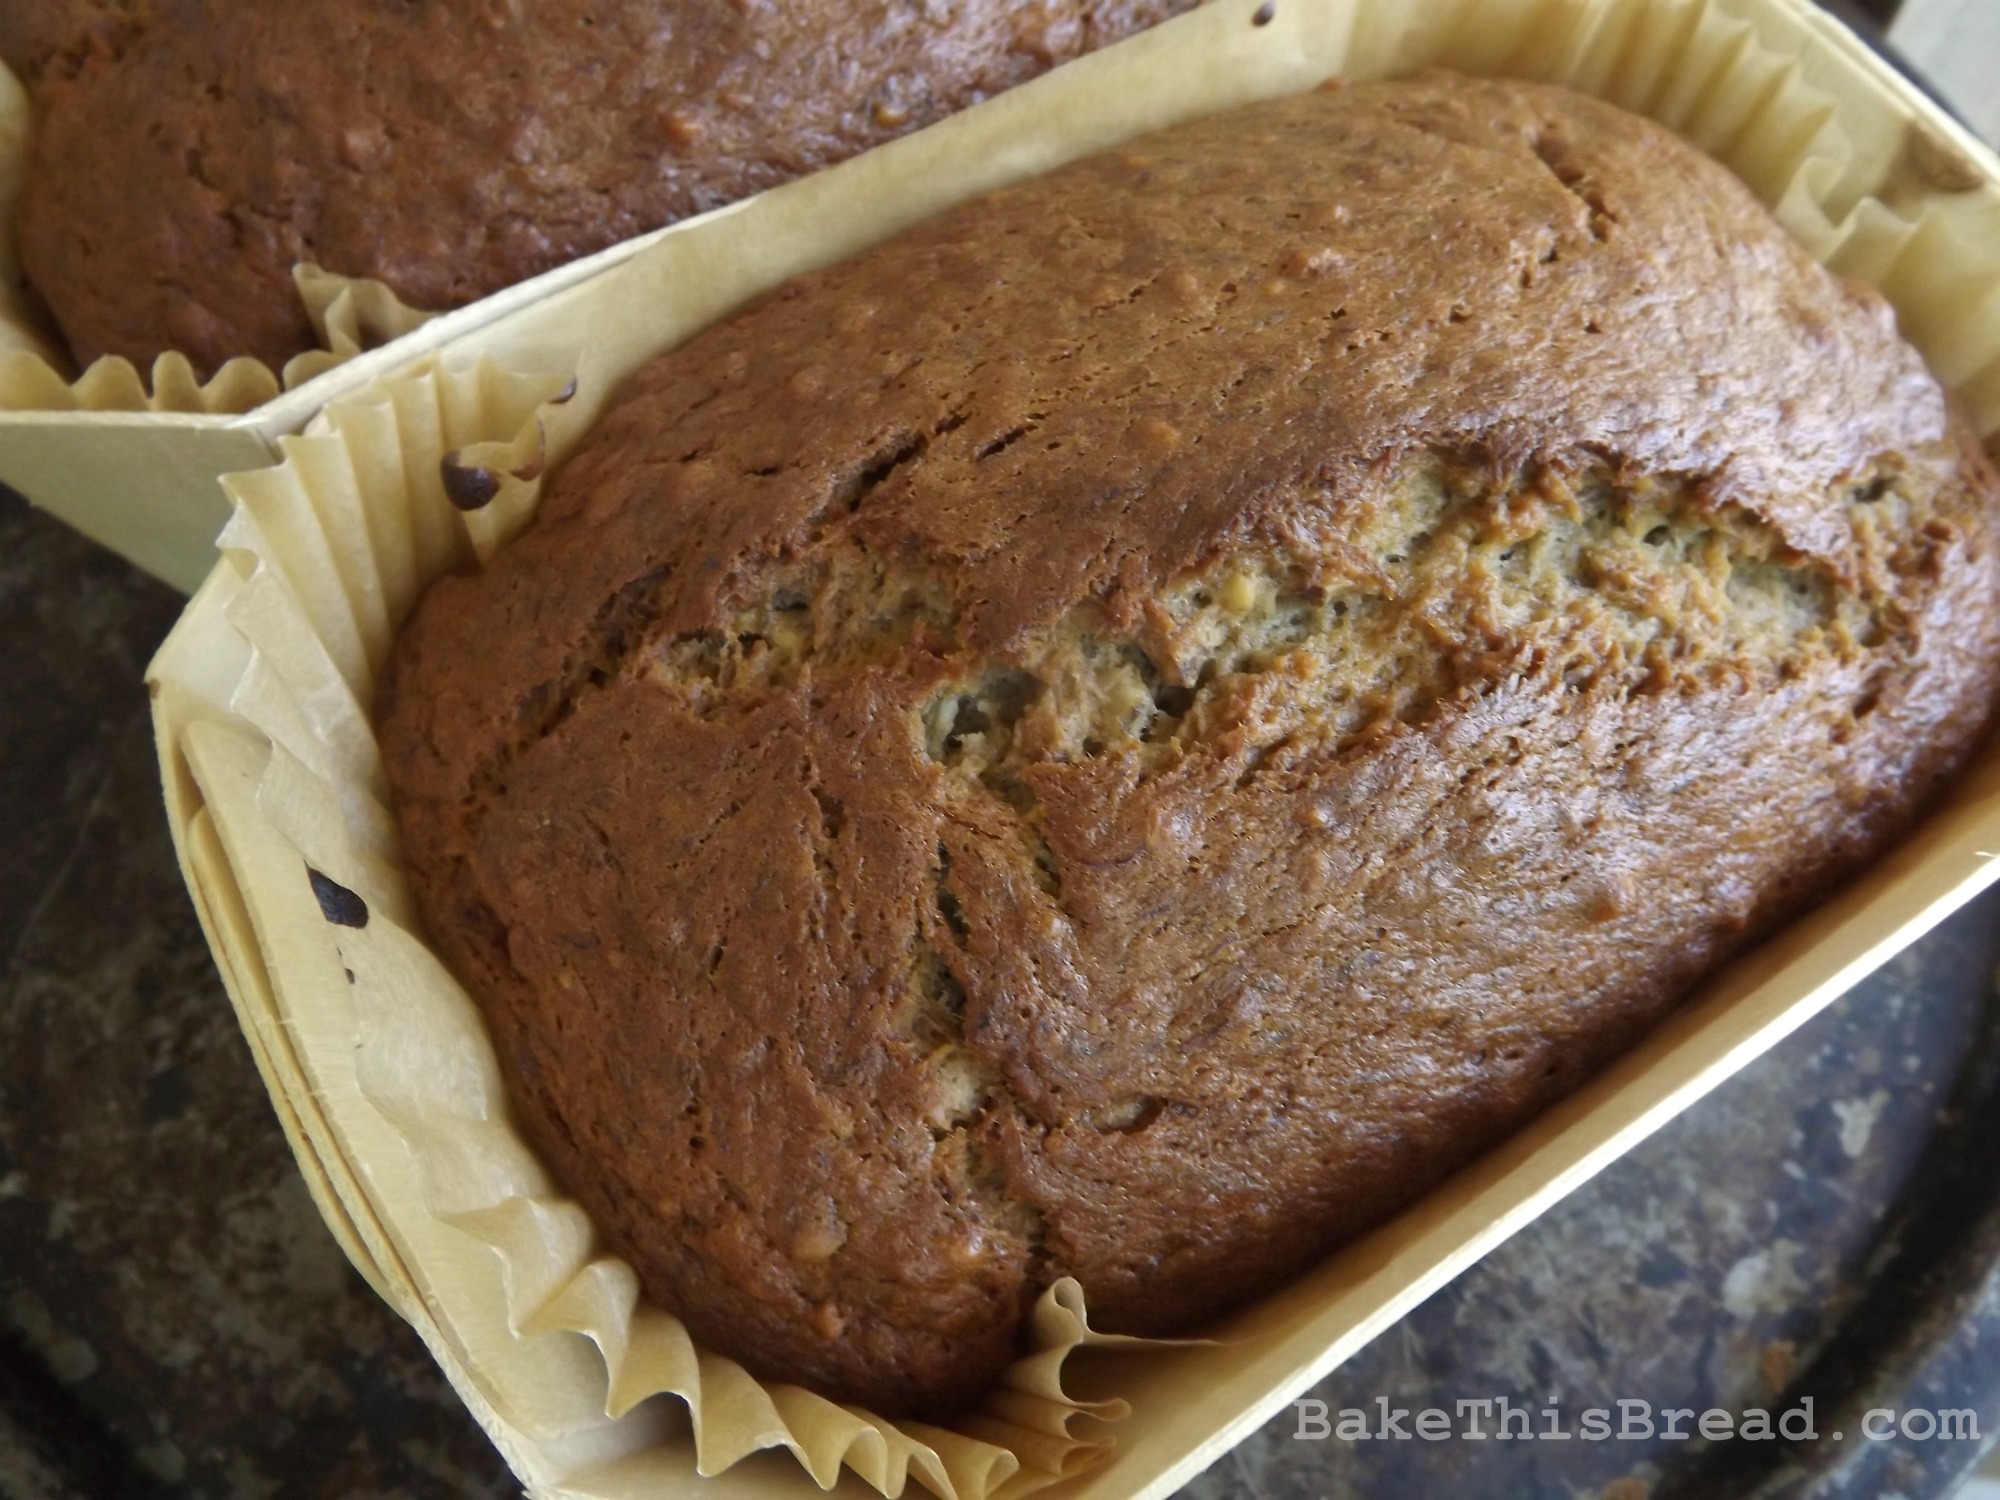
Bake at 350 degrees. For the smaller pans, bake for about 65 minutes. For the larger bread pan bake for about 75 minutes. Since oven differences can impact the baking time, check on your cakes beforehand. The banana bread will be done when it is somewhat cracked on top, the sides pull away slightly from the edges, a toothpick tests shows clean, the bread springs back a bit when gently pressed at the top center point and the internal temperature reaches about 210 degrees.
Cool the bread for 10 minutes in the pan before brushing the top of the bread with: 1 to 2 Tablespoons unsalted butter, room temperature
Tip: Spreading a little butter on top of the warm bread loaf will help soften the top crust. The initial shine will fade as the cake cools.
Serve this bread warm from the oven or some folks prefer it with a one-day (or more) counter sitting time.

Do you take yours hot with butter? Cooled with softened cream cheese? My auntie likes her banana bread with cream cheese and orange marmalade.

Such a homey kitchen craft. Heck, next time I’m going to double the recipe like Grandma used to do — since it seems to go in a flash. 🙂
If you make 2 small loaves, you’ll have the advantage of being able to sample one and give the other as your special kitchen gift. 🙂
Okay, time to keep one and pack one for a friend. We tucked our homemade kitchen gift into a darling clear cellophane Treat Bag purchased from our good friends at www.ShopBakersNook.com (the gift bags come in a set of 3 with lovely ribbon ties and round cards for inscriptions that loop through the ribbon). In this goodie box I packed up a sampling of fruit teas, chocolates and coffee with the banana bread. All these things travel well in winter (chocolates, cold weather, get me?).

Thank you for joining me on this vintage baking adventure. I hope you’ll hang with us on Facebook (where you’ll get a sneak peek of our testing vintage cake and bread recipes relating to our sister site Bake This Cake!) — and where you’ll find me asking for advice from our baker friends as we make our way through historic recipe quandaries. You might even want to check your grandma’s recipe cards and tip us on what you think might be fun to bake up next. 🙂
If you bake this bread, shoot me a photo at Lesliemak@facebook.com and I’ll post it. 🙂
Happy vintage bread baking!
Leslie

Related articles you may enjoy:
- Mary Todd Lincoln’s Vanilla Almond Pound Cake (bakethiscake.com)
- Heavenly Chocolate Vintage Devil’s Food Cake (bakethiscake.com)
- Country Pumpkin Bread Recipe (bakethisbreadcom)
- Betty’s Banana Layer Cake with Fresh Banana Buttercream Frosting (bakethiscake.com)
- Quick & Magical Chocolate Crazy Cake with Double Fudge Frosting (bakethiscake.com)
- San Francisco Blueberry Cake (bakethiscake.com)